Overview
Because cPanel, L.L.C. doesn’t develop or ship these products, Exitra Technical Support can’t help you set this up.
This article provides instructions to set up a cPanel email account on an iOS® or Android™ device.
You can find your email account’s settings (for example, username, incoming server, and outgoing server) in the following locations:
-
cPanel’s Set Up Mail Client interface (cPanel >> Home >> Email >> Email Accounts).
-
The Webmail interface.
-
The welcome email that your administrator sent you.
Set up your mobile device
iOS
This guide uses iOS 15 on an iPhone® SE.
-
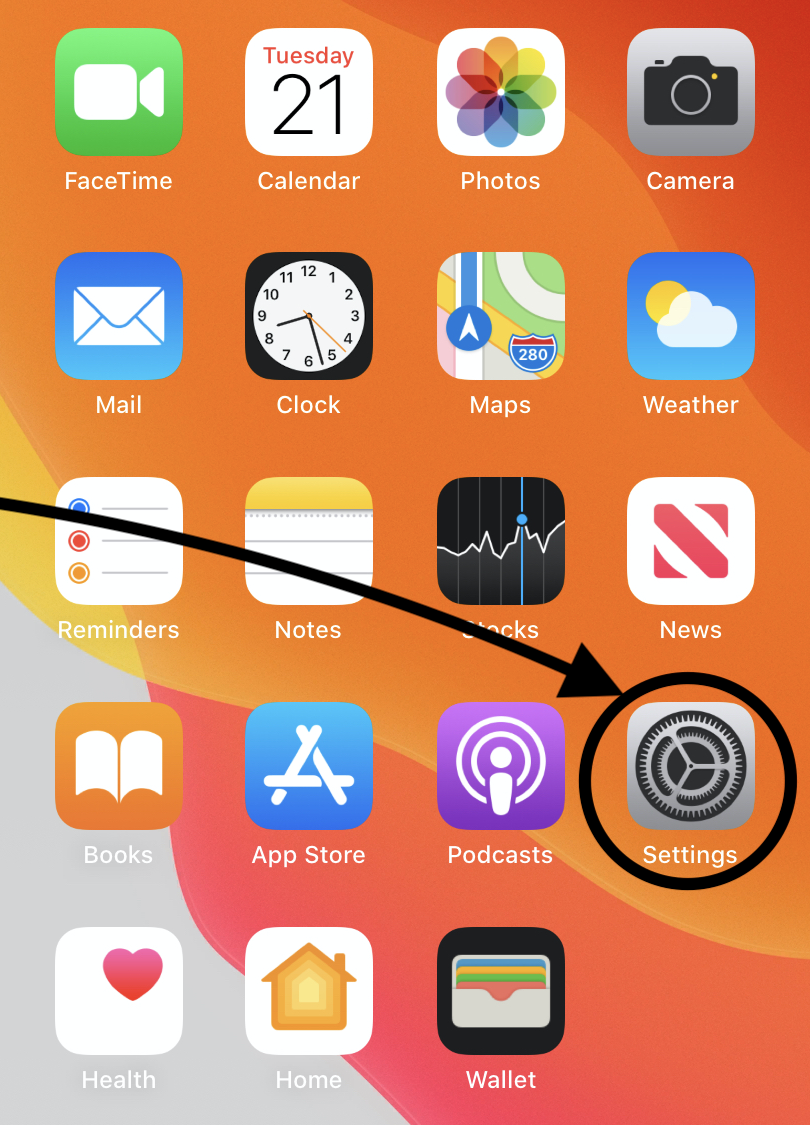
Tap Settings. Generally, the Settings icon appears in one of your device’s main screens. The Settings menu will appear.
-
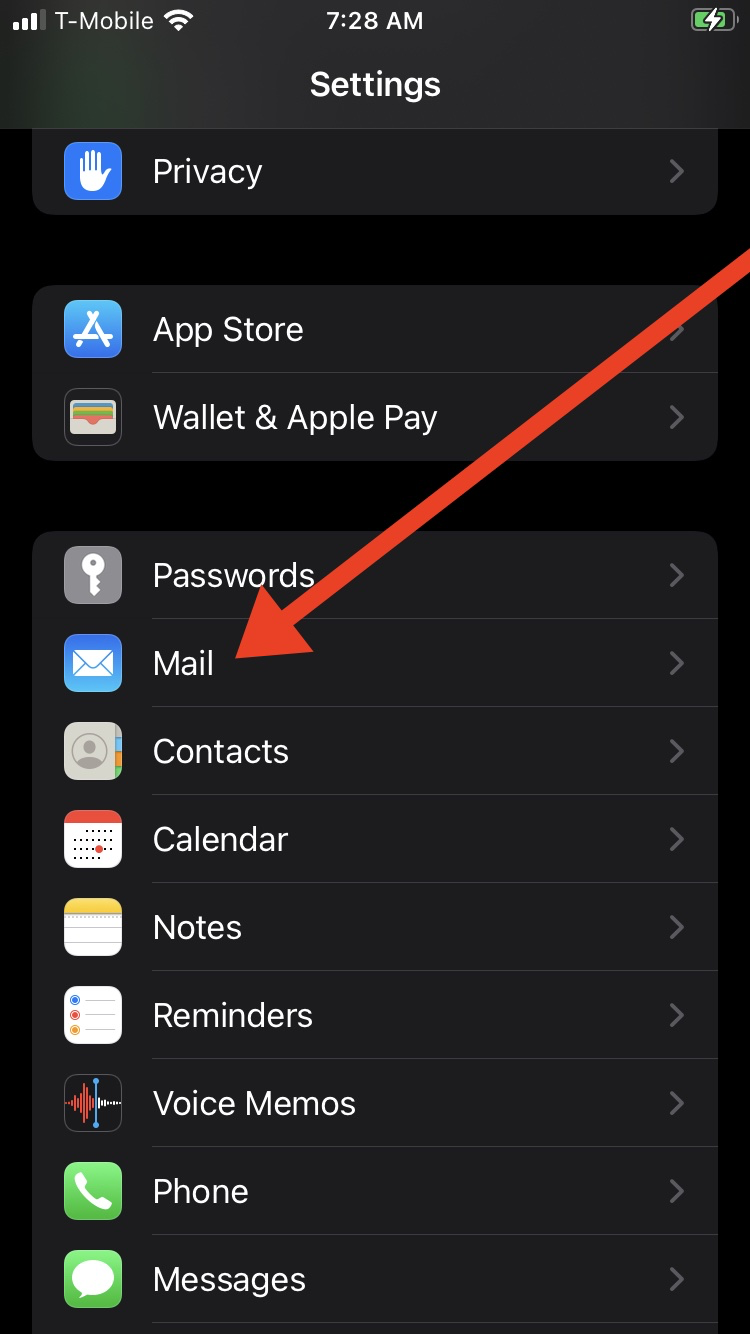
Tap Mail in the Settings menu. The Mail menu will appear.
-
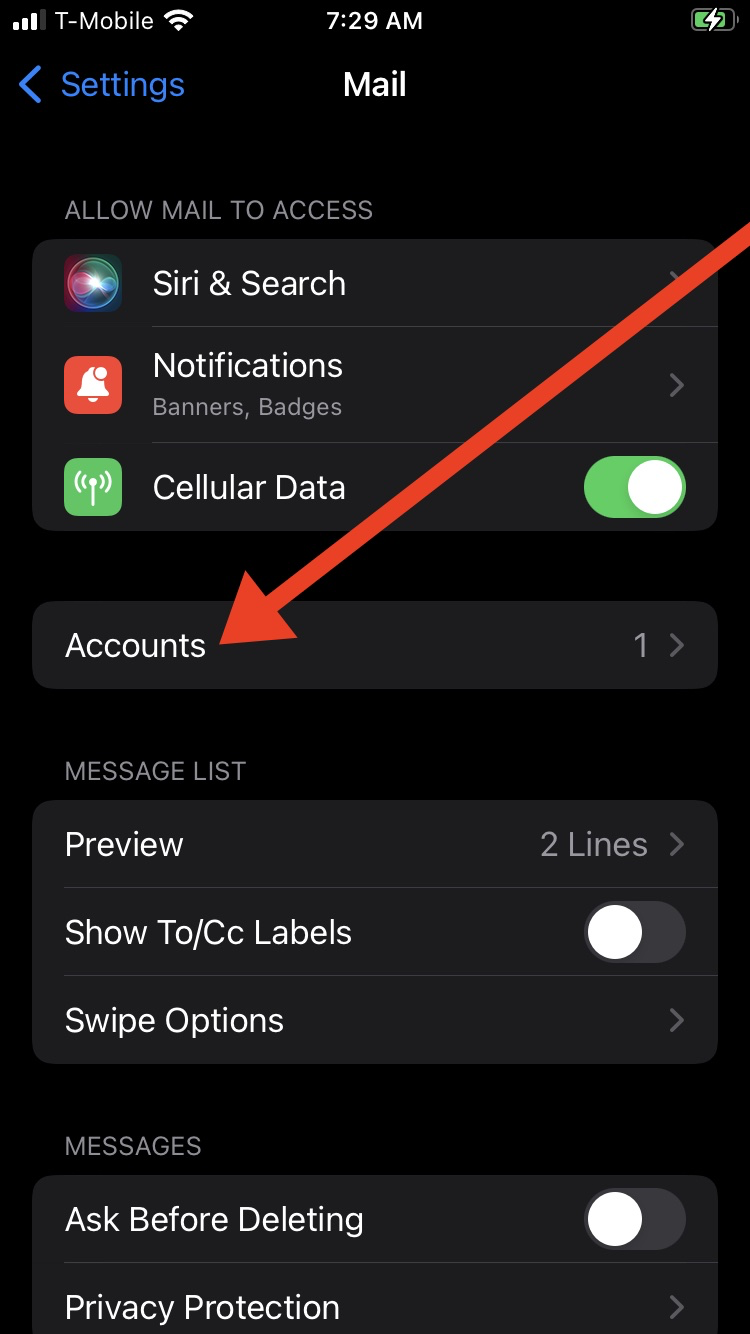
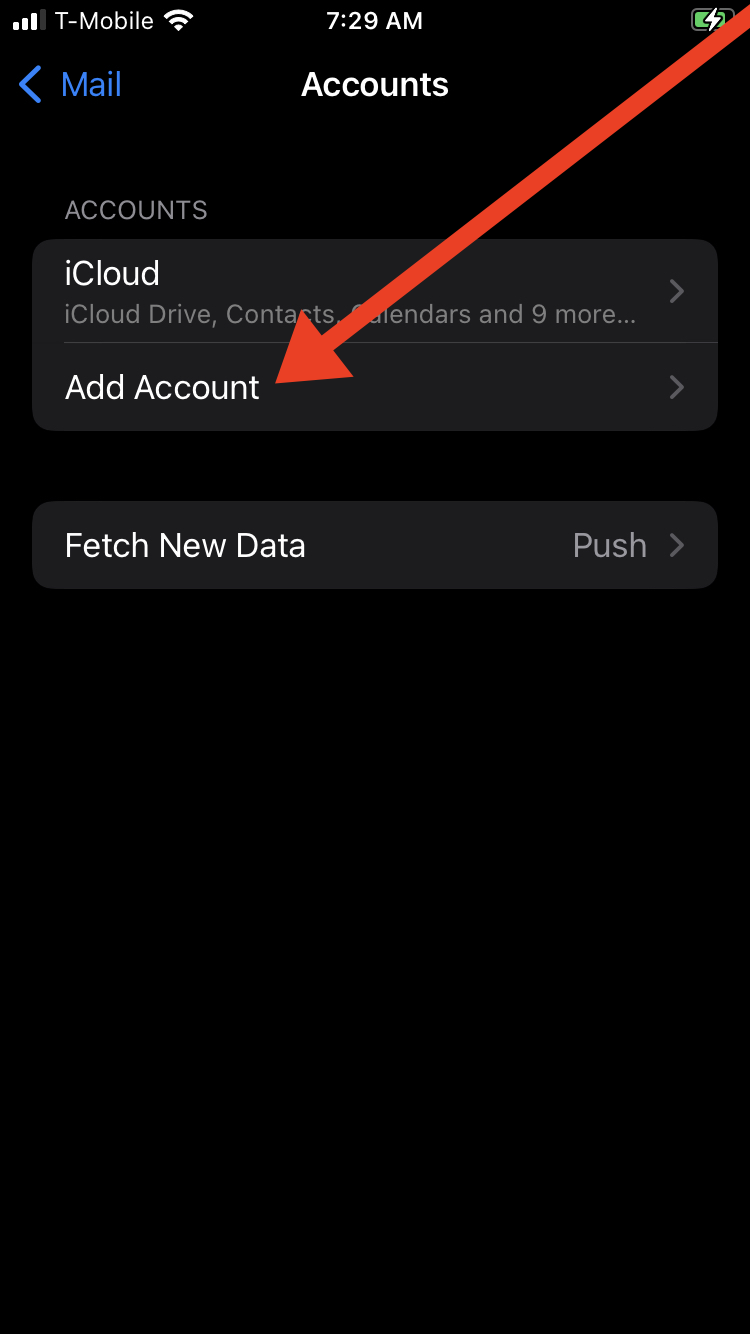
Tap Accounts in the Mail menu. The Accounts menu will appear.
-
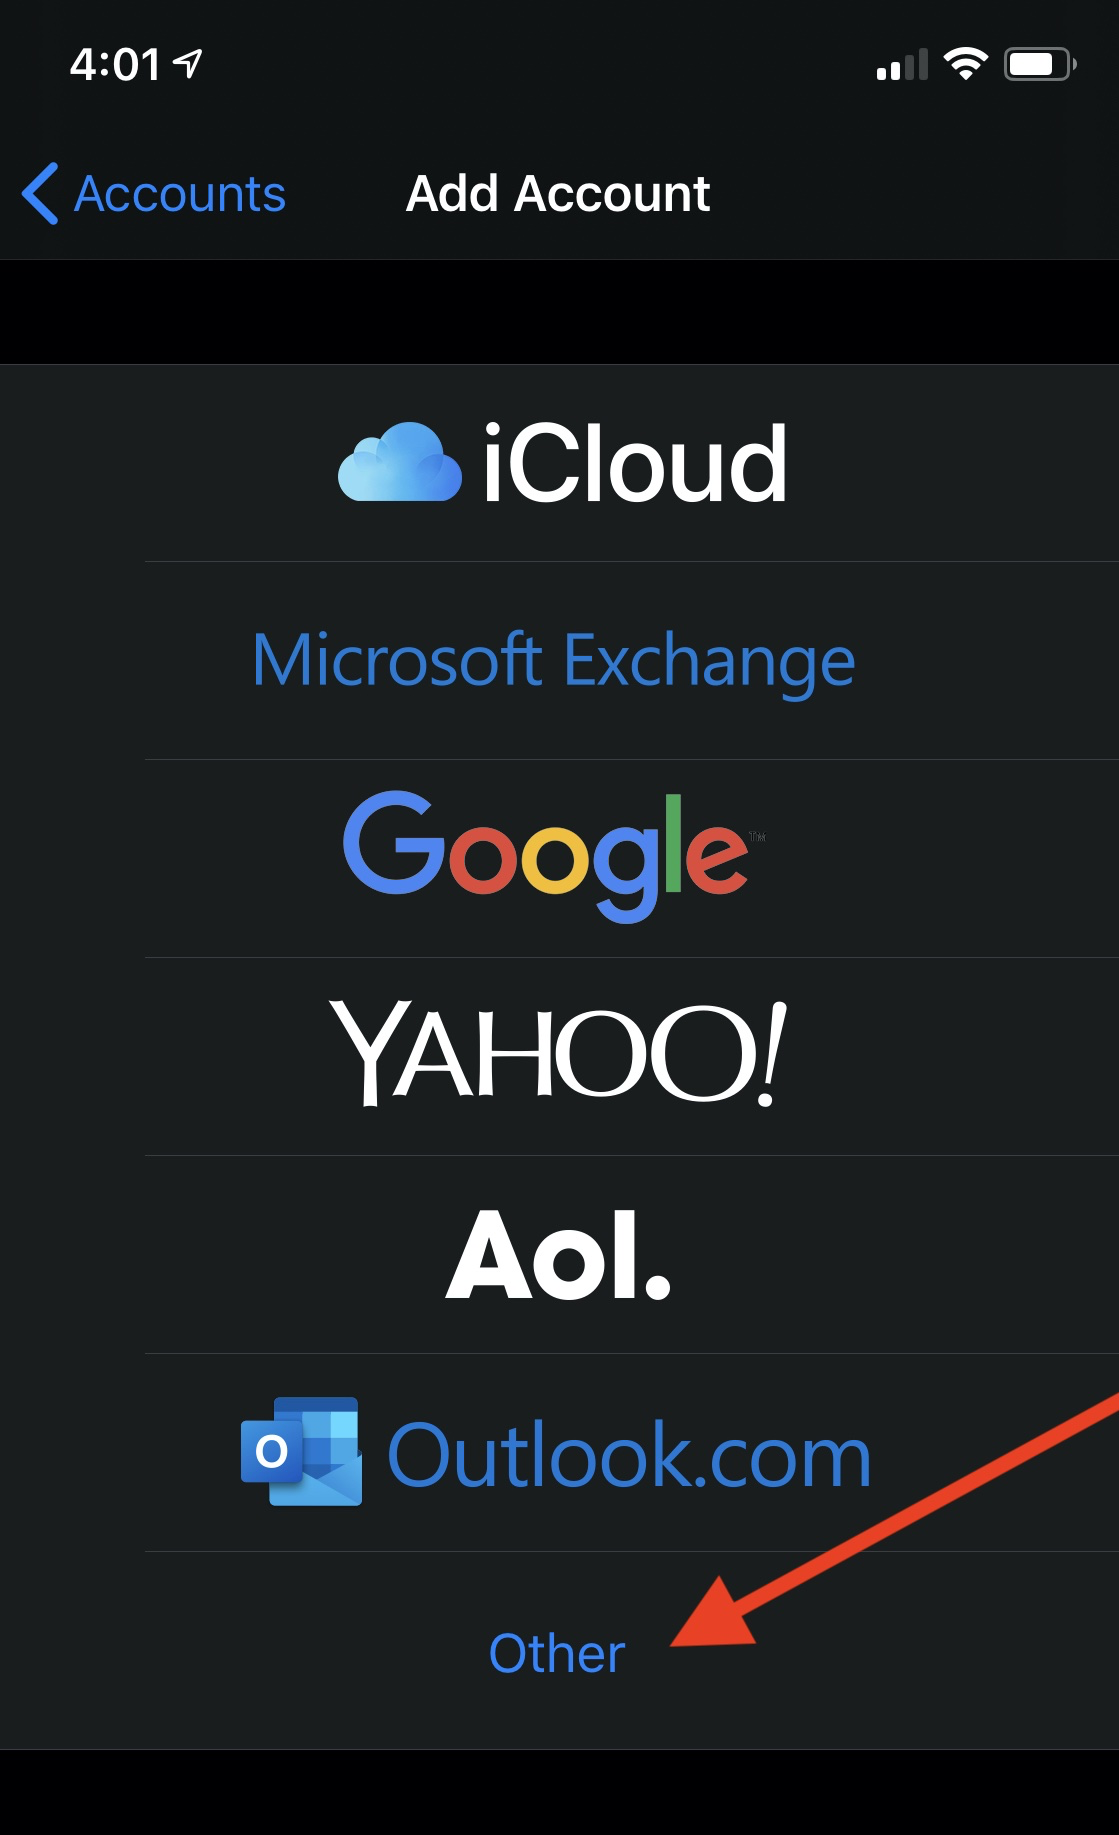
Tap Add Account in the Accounts menu. The Add Account menu will appear.
-
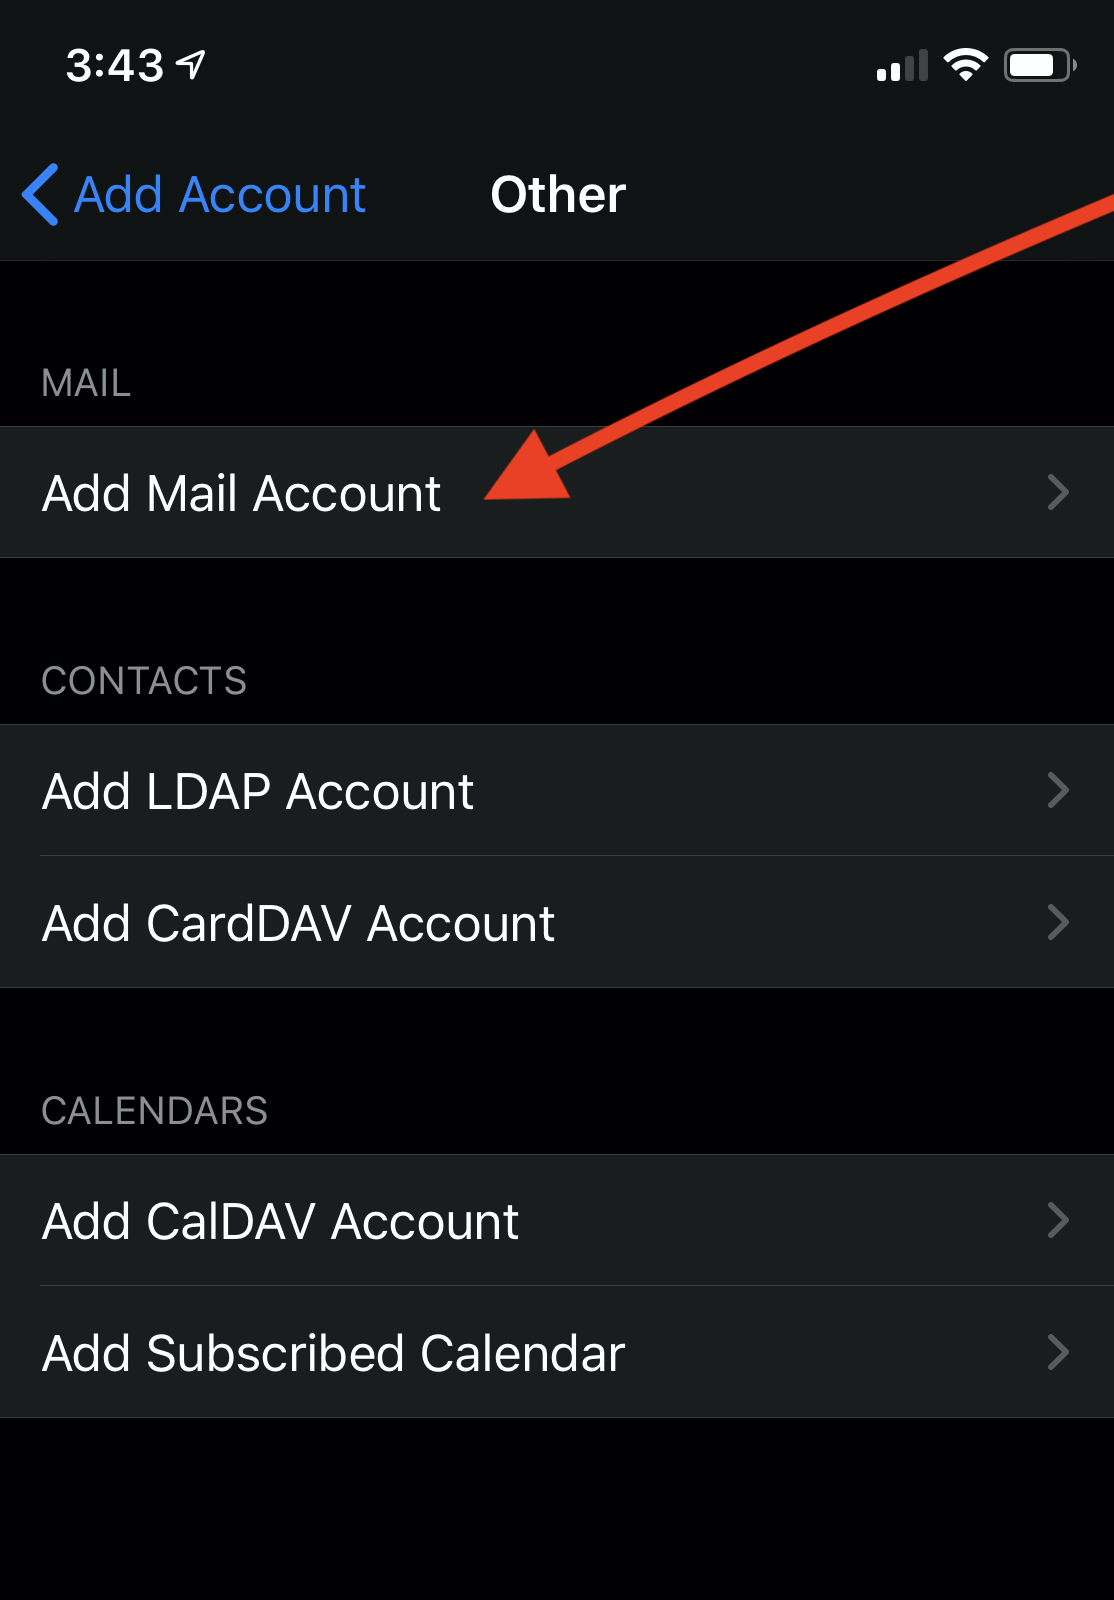
Tap Other in the Add Account menu. The Other menu will appear.
-
Tap Add Mail Account in the Other menu. The New Account interface will appear.
-
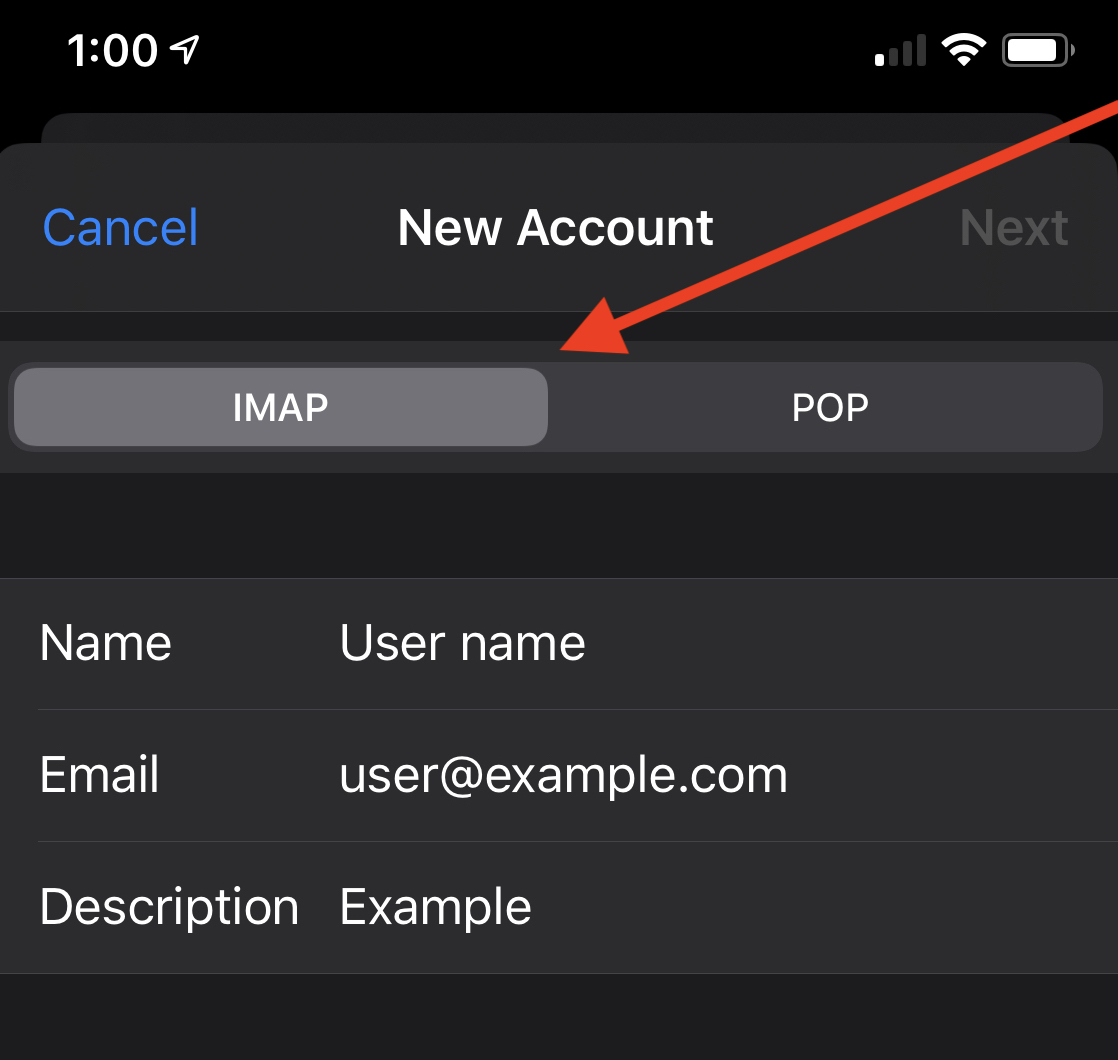
Enter your account information and tap Next. Enter the following information in the New Account interface’s text boxes:
- In the Name text box, enter the name that you wish to use for the email account.
- In the Email text box, enter your email address.
- In the Password text box, enter the password for the email account.
- In the Description text box, enter a description for the email account.
- Tap Next to proceed to the next screen in the New Account interface.

-
Use the toggle at the top of the screen to select a mailbox type. Verify all of the information for your account.
Note:We recommend that you select the IMAP mailbox type. If you select the POP3 mailbox type, the mobile device’s mail client will download all of the account’s email messages, and then remove the messages from the server. You will not be able to access those messages from any other mail client.
-
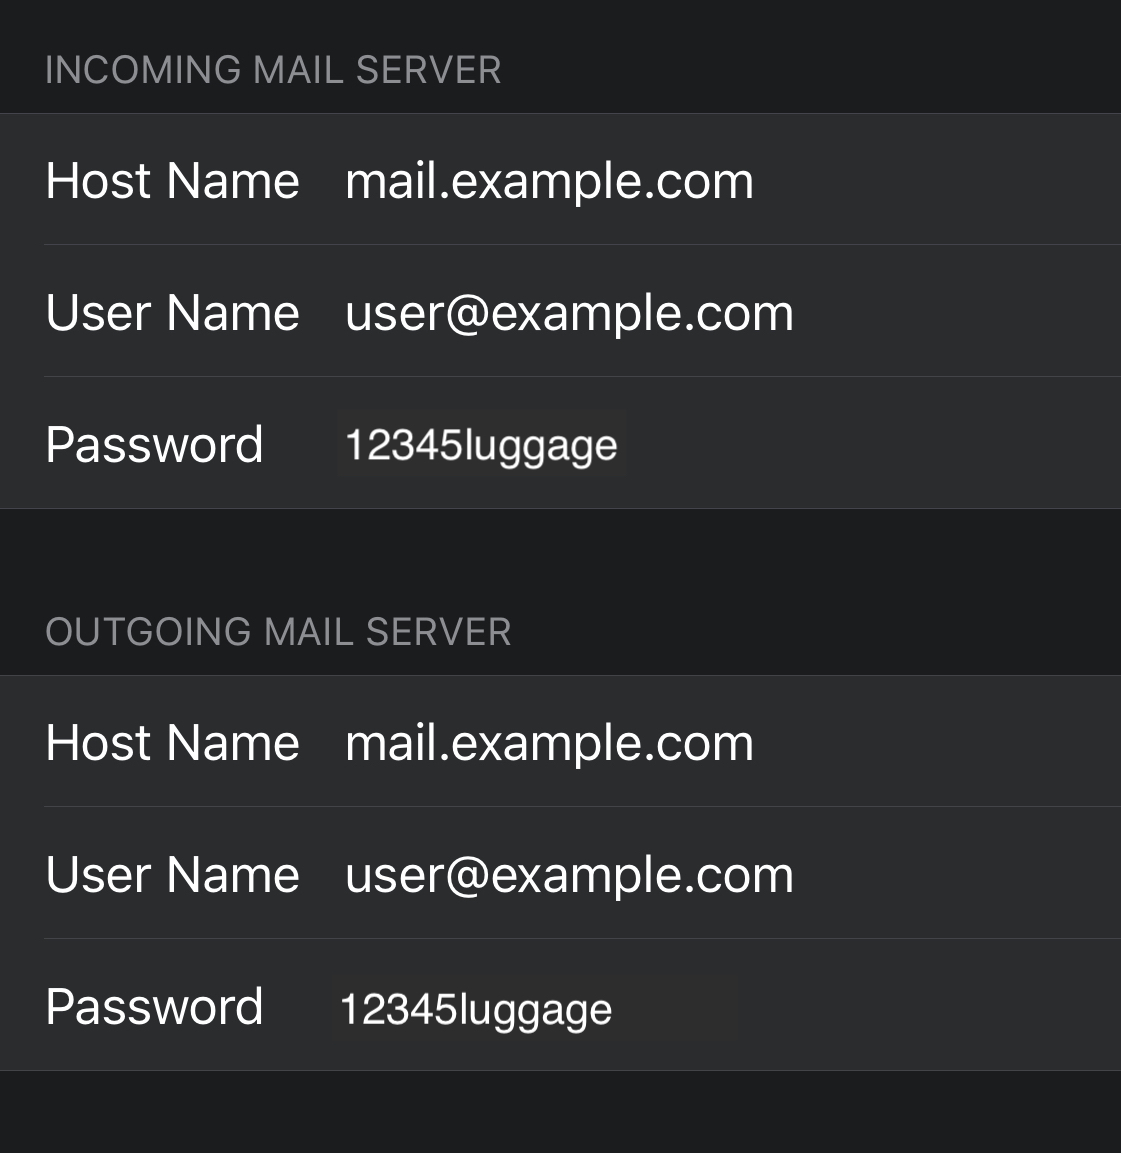
Enter the following information in Incoming Mail Server and Outgoing Mail Server text boxes:
- In the Host Name text box, enter the domain for the email account.
- In the User Name text box , enter your email address.
- In the Password text box , enter the password for the email account.
- Tap Next to proceed to the next screen in the New Account interface.
-
Tap the Notes toggle to disable the Notes application for the account.
-
Tap Save to complete the account setup process.
Android
-
This guide was created using Android version 10.0.0 on a Google Pixel™ 3..
-
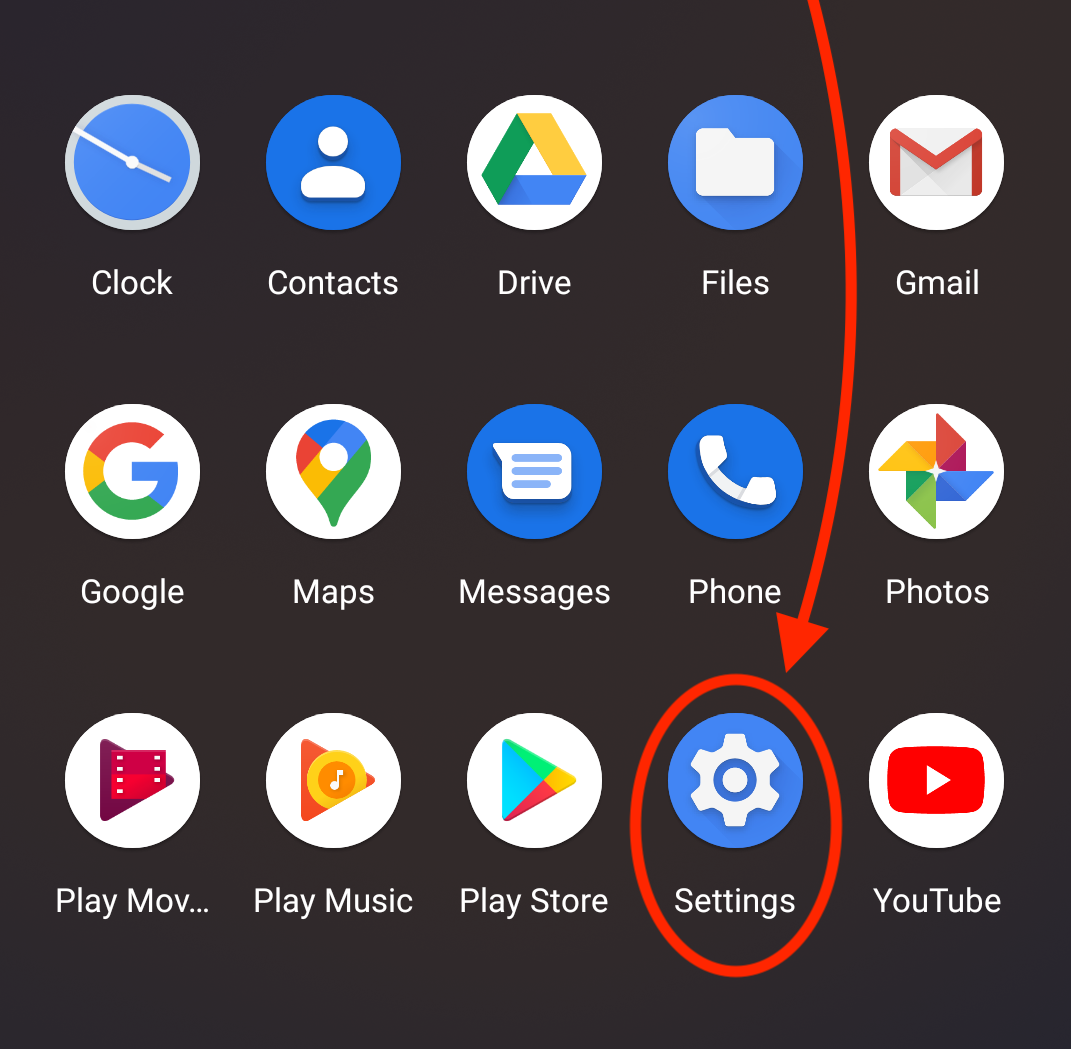
Swipe up from the bottom of your device and tap the Settings icon.
-
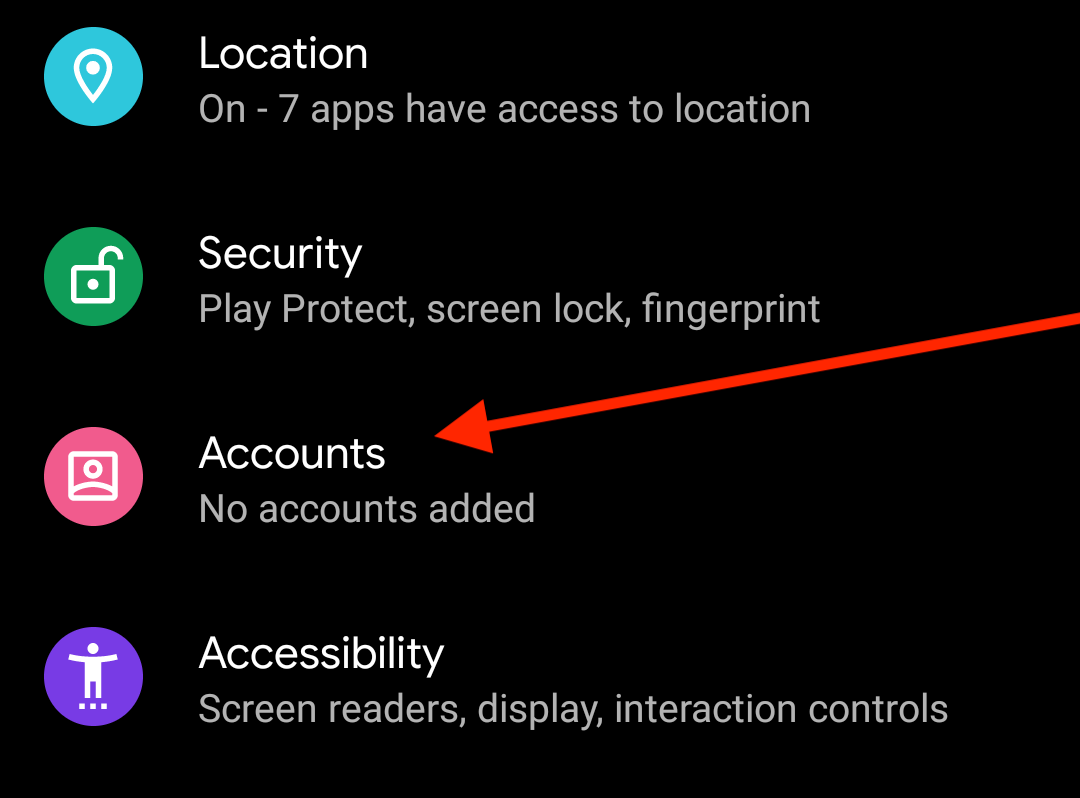
In the Settings menu, tap on Accounts. The Accounts interface will appear.
-
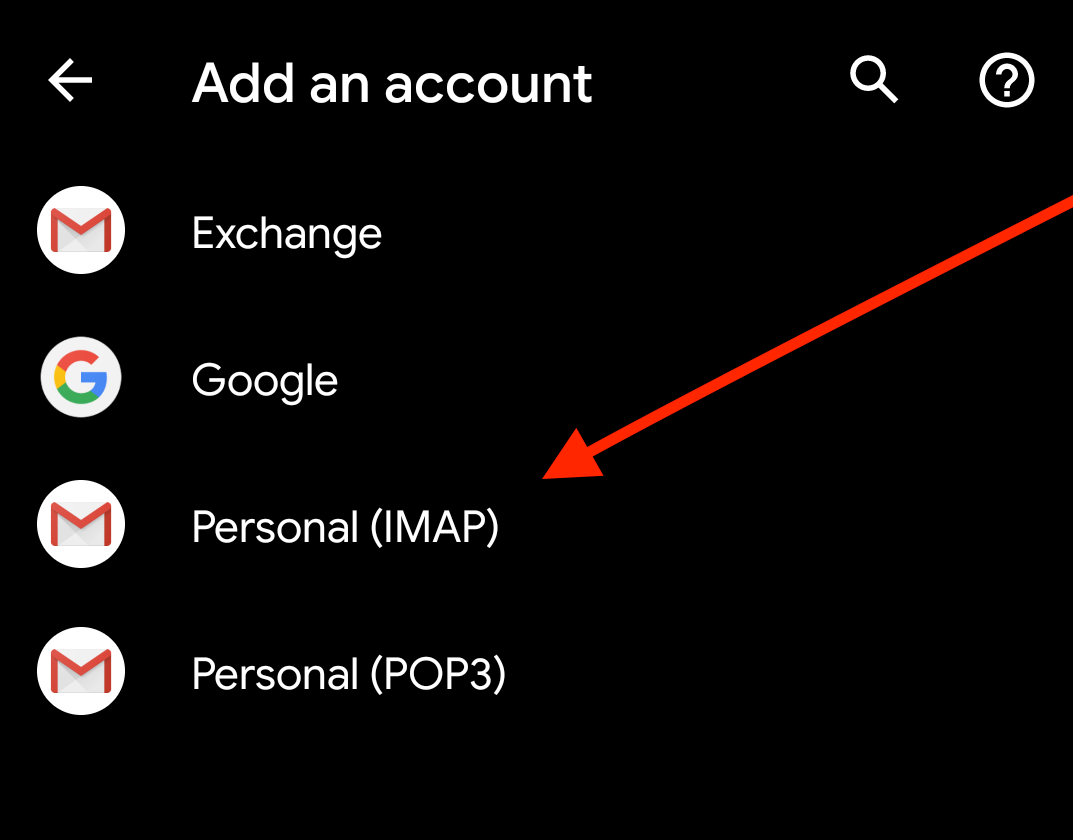
Tap on Add Account. The Add an account interface will appear.

-
In the Add an account interface, tap Personal (IMAP).
-
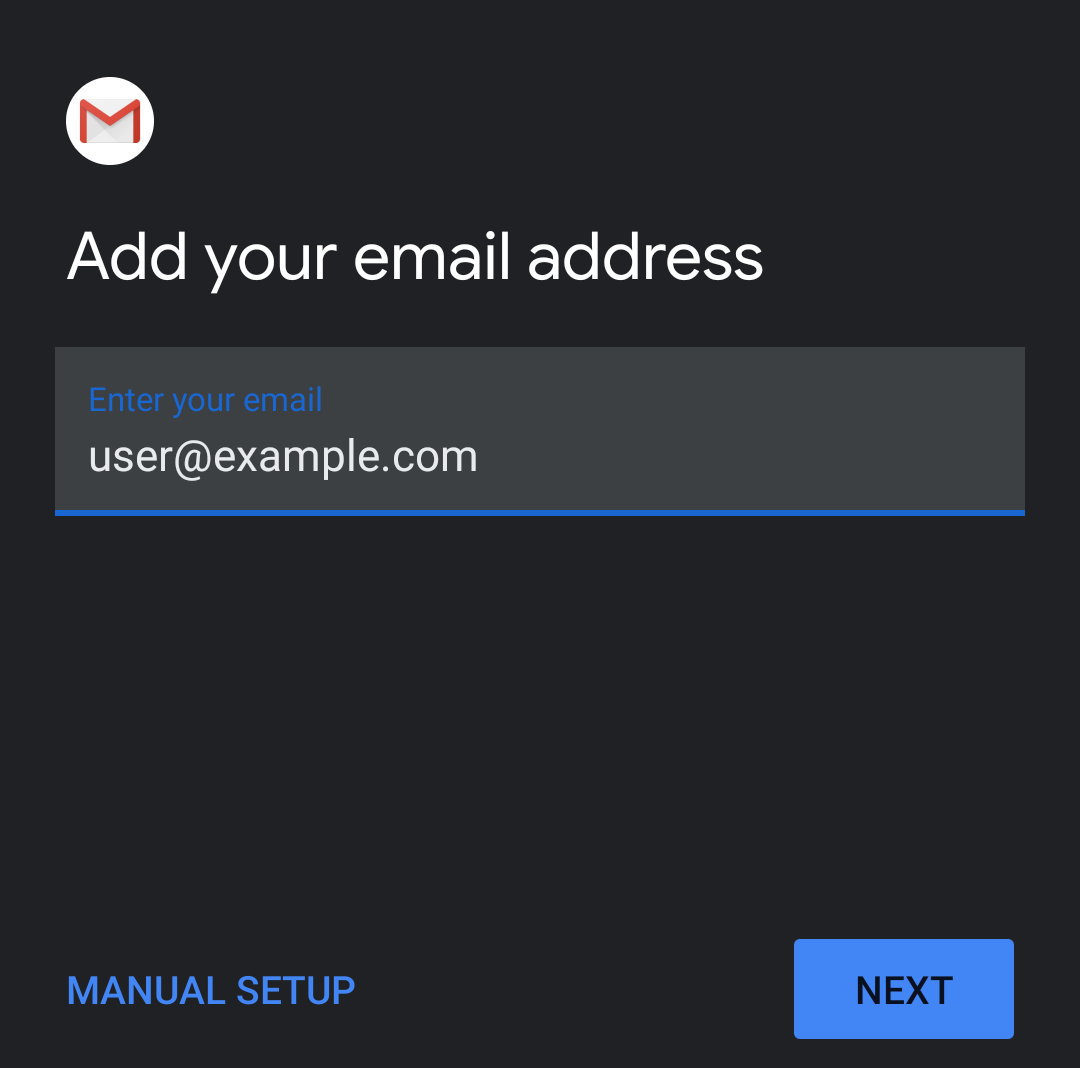
In the Enter your email text box, enter your full email address. Tap Next.
-
Enter your password in the Password textbox. Tap Next. This will open the Incoming server settings Interface.
Note:Tap the show password icon (
 ) to ensure that the password is correct.
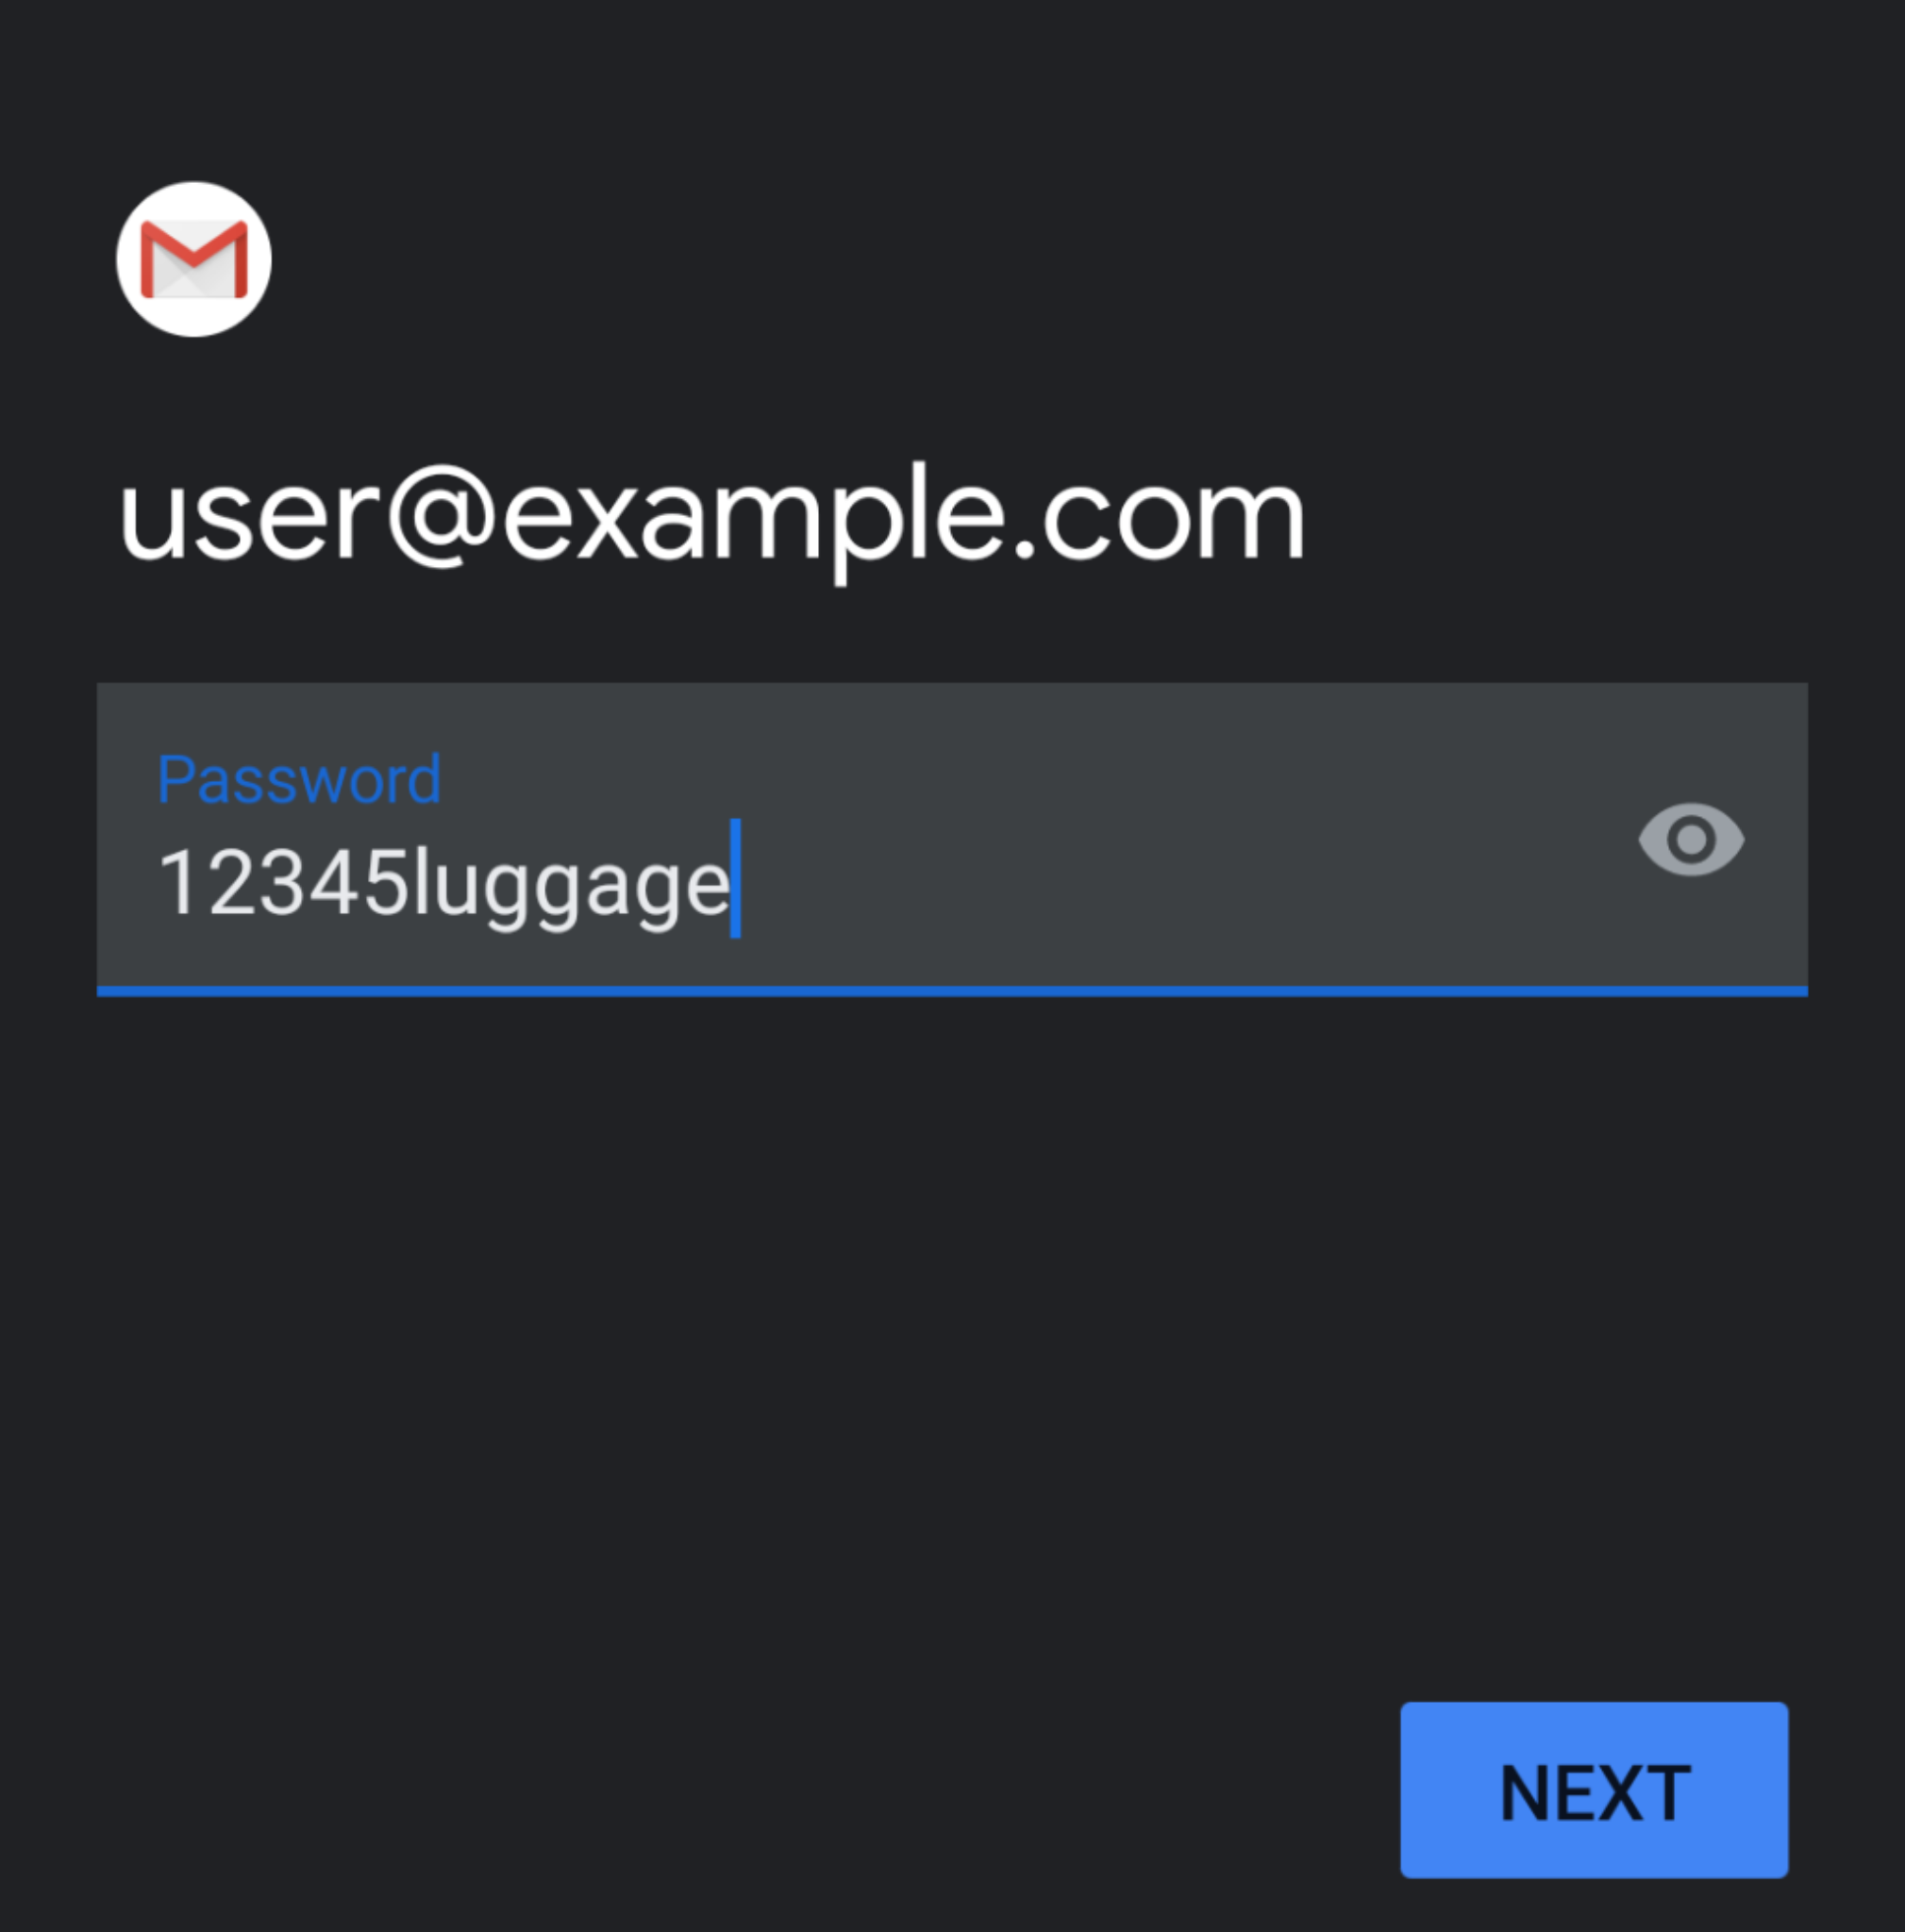
-
Your Username and Password will be automatically filled with your previously entered information.
- In the Server textbox, enter the host name information.
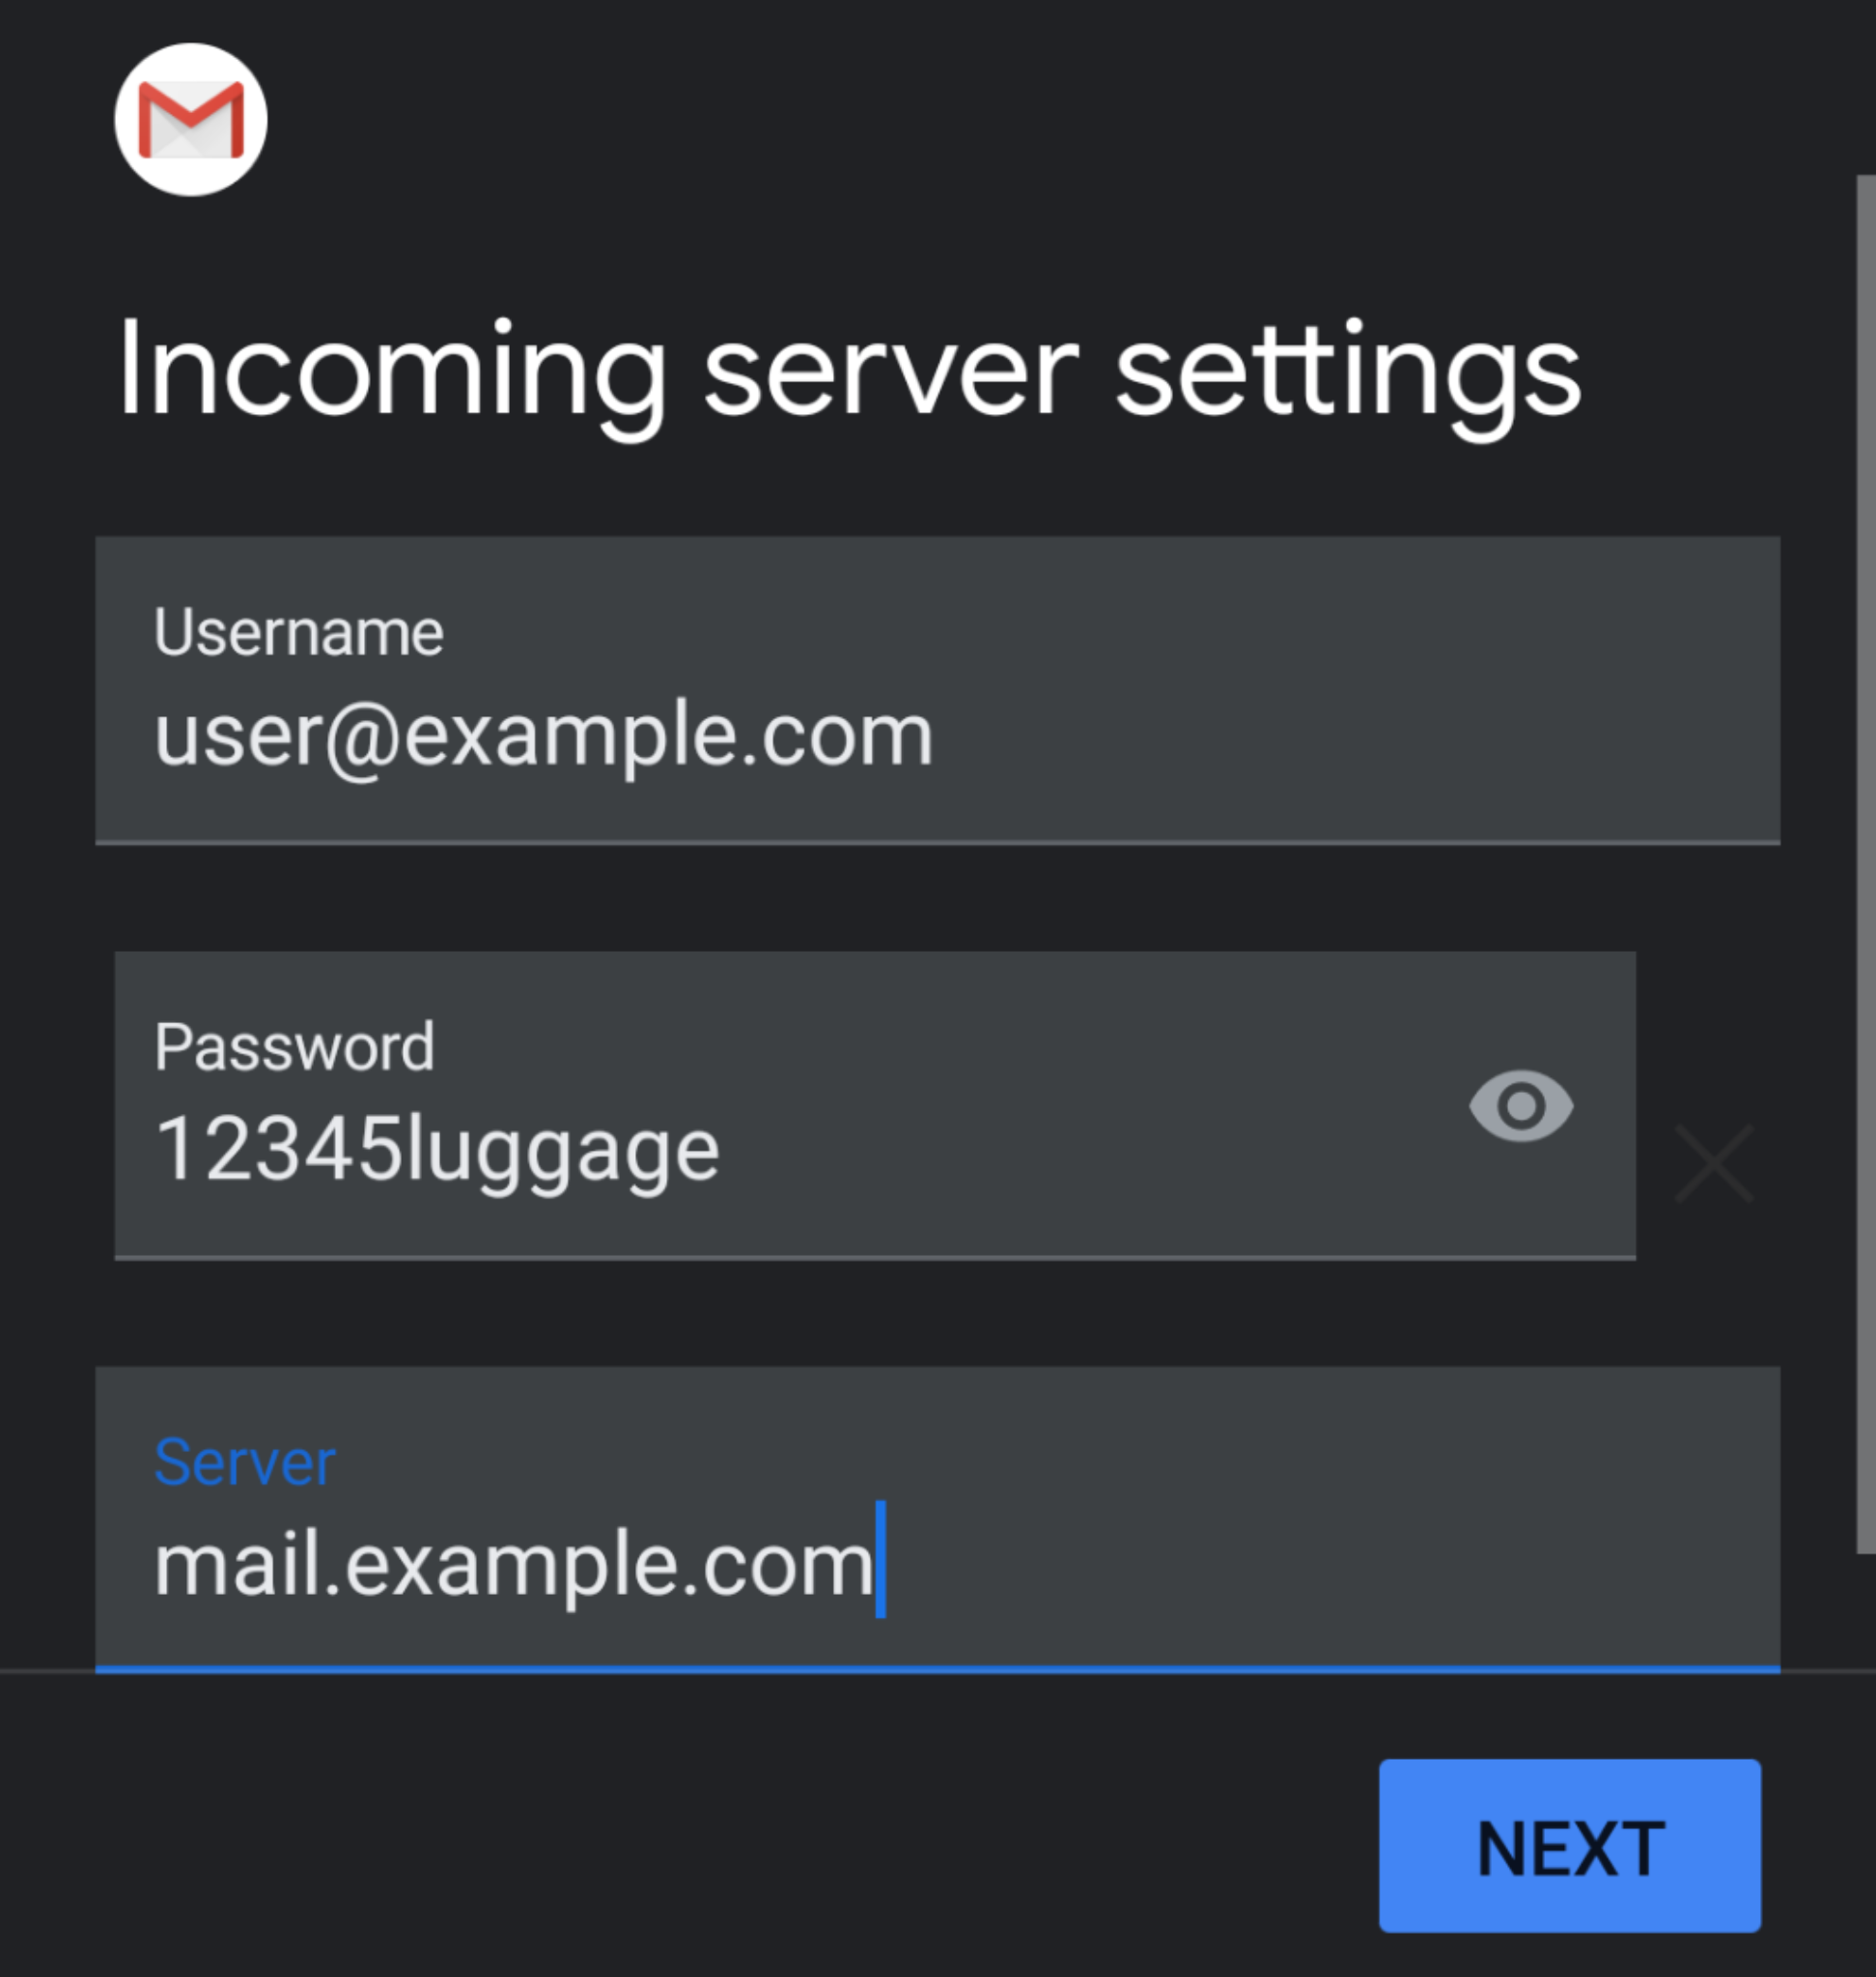
- Tap Next. The Outgoing server settings interface will appear.
- In the Server textbox, enter the host name information.
-
Your Username and Password will be automatically filled in with your previously entered information.
- In the Server textbox, enter the host name information.
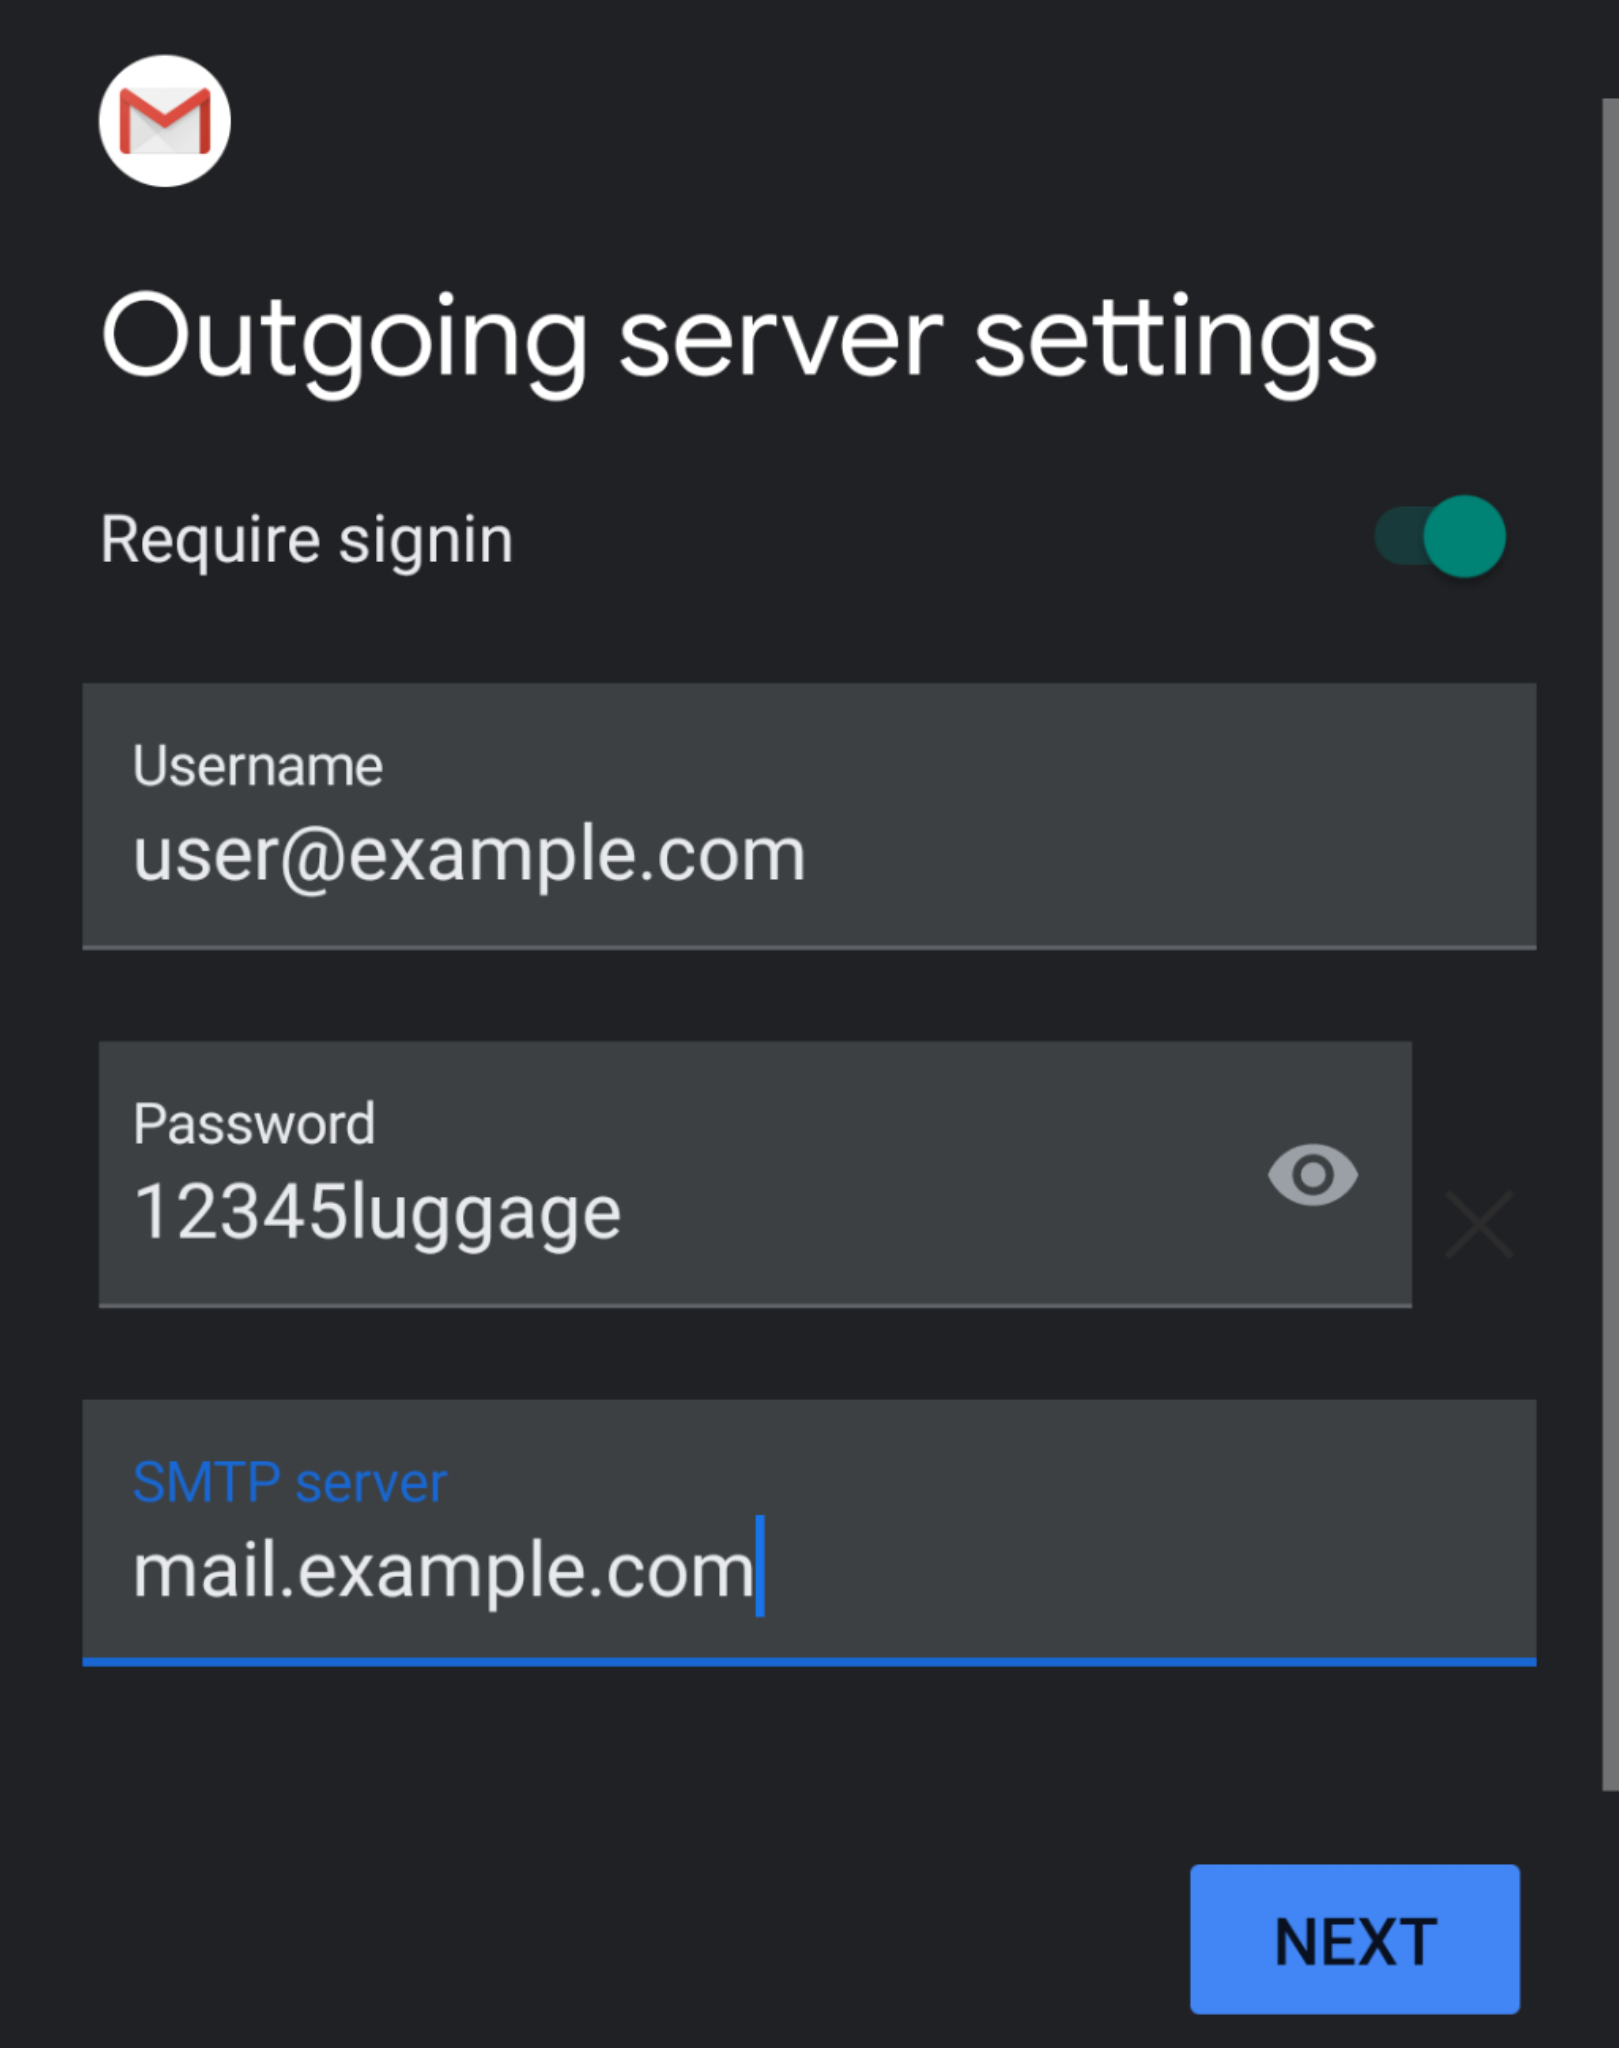
- Tap Next. The Account options interface will appear.
- In the Server textbox, enter the host name information.
-
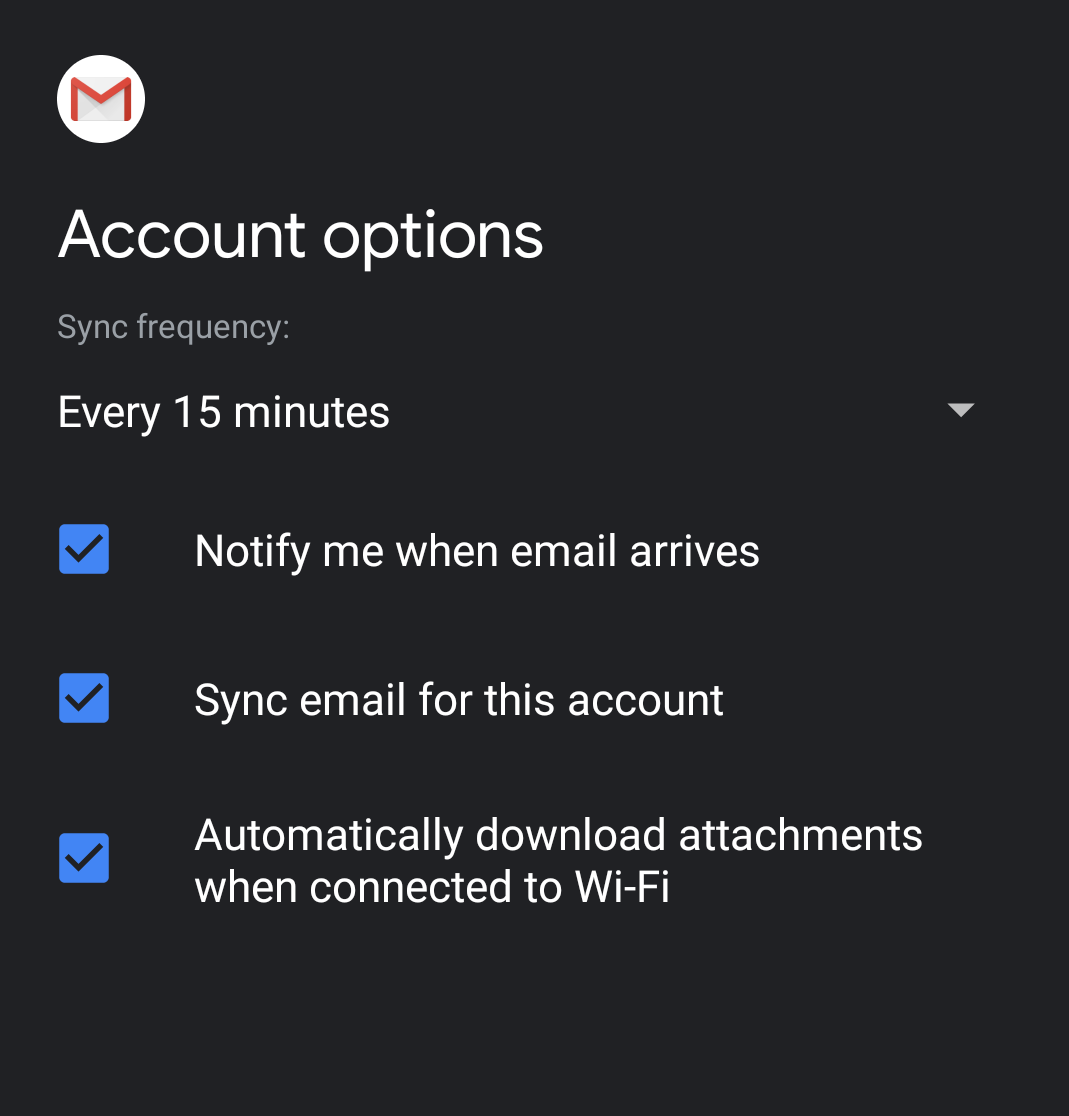
Enter the following information in the Account options interface. you may set your sync frequency and email notifications.
- Select how often your email syncs to the server from from the Sync frequency menu options.
- To get notifications when email arrives, check the Notify me when email arrives checkbox.
- To automatically sync email for this account, check the Sync email for this account checkbox.
- To automatically download attachments when connected to Wi-Fi, check the Automatically download attachments when connected to Wi-Fi checkbox.
- Tap Next. The confirmation page will appear.
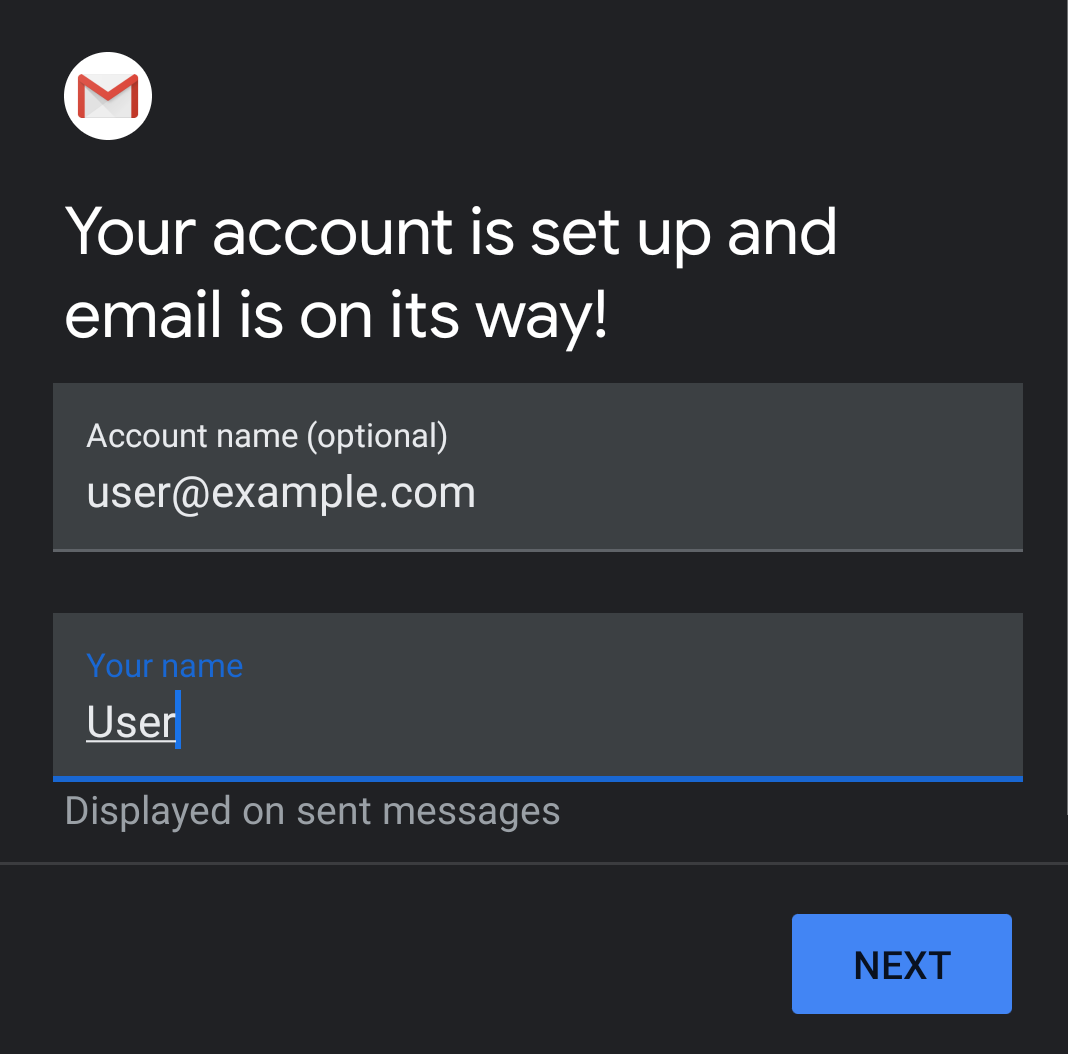
-
Tap Next. Your mail client is now ready.